
 If you’re new to using a sewing machine, one of the first things you’ll need to learn is how to correctly put the thread in. It may look tricky at first, but once you understand the process, it becomes second nature. Threading your sewing machine the right way is important because it ensures smooth stitching, prevents tangles, and helps your projects look clean and professional.
Before we start, remember that every sewing machine model is slightly different. However, the basic threading method remains almost the same. Whether you’re using a domestic model at home or an industrial sewing machine in a workshop, this guide will walk you through the steps.
1. Prepare Your Machine and Thread
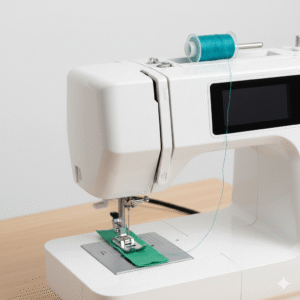
First, turn off your sewing machine for safety and lift the needle to its highest position using the handwheel. Raise the presser foot to release the thread tension. Place your spool of thread on the spool pin located on the top of the sewing machine. Depending on your model, the spool pin can be either horizontal or vertical. Make sure the spool cap is secure so that the thread doesn’t slip off as you sew.
2. Guide the Thread Through the Thread Path
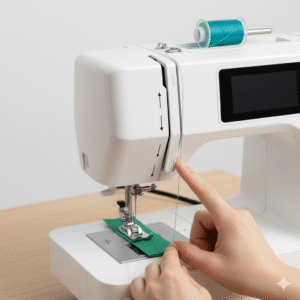
Most sewing machines have a printed diagram on the body showing the threading direction. Pull the thread from the spool and guide it through the first thread guide, usually located near the spool pin. Then, bring the thread down toward the tension discs at the front of the machine. Pass the thread between the tension discs carefully—this part controls how tight or loose your stitches will be.
Once the thread is through the tension area, bring it up again to the take-up lever. This lever moves up and down as you sew, pulling the thread to form stitches. Thread the lever from right to left, making sure it catches properly.
3. Thread the Needle
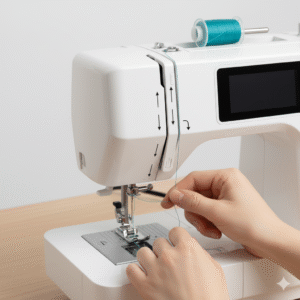
Now, bring the thread back down toward the needle area. Some sewing machines have additional guides near the needle to keep the thread steady. Pass the thread through those guides and finally through the needle’s eye from front to back. If your machine has an automatic needle threader, use it—it saves time and makes the process easier.
At this point, gently pull about five to six inches of thread from the needle and let it rest toward the back of the machine under the presser foot.
4. Insert the Bobbin

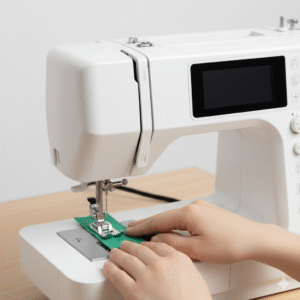
The bobbin thread works with your top thread to form each stitch. Open the bobbin case, place your wound bobbin inside, and make sure it spins in the correct direction (usually counterclockwise). Pull the thread through the slit and under the tension spring. If your machine has a top-loading bobbin, drop it in and follow the arrows shown on the machine’s surface.
After placing the bobbin, hold the top thread with your left hand and turn the handwheel slowly toward you. The needle will go down and pick up the bobbin thread. Once both threads come up through the needle plate, pull them out and place them toward the back.
5. Test the Threading
Before you start sewing your actual fabric, always test your threading on a scrap piece of material. Lower the presser foot and begin stitching a few lines to see if the thread tension is balanced. If you notice skipped stitches or loops under the fabric, check your threading again—sometimes a small mistake can affect the results.
Common Threading Mistakes to Avoid
Many beginners face problems when threading their sewing machine for the first time. Some common mistakes include skipping the take-up lever, not placing the thread properly between the tension discs, or threading the needle in the wrong direction. Always double-check each step and follow your sewing machine’s manual for guidance. Taking a few extra minutes to do it right will save you hours of frustration later.
Also, remember that good-quality thread makes a huge difference. Cheap or old threads can break easily or leave lint inside your machine. Invest in a reliable brand that matches your fabric type—cotton thread for light fabrics and polyester thread for more durable materials.
Caring for Your Sewing Machine
Once your sewing machine is threaded correctly, keeping it clean and well-oiled ensures smooth operation. Dust and lint from fabrics can build up inside, affecting performance. Regularly remove the needle plate and brush away any residue. If you’re using your machine daily, a quick cleaning once a week can keep it in perfect shape. For industrial sewing machines, it’s a good idea to schedule professional maintenance every few months.
Why Threading Properly Matters
Threading may seem like a simple step, but it’s the foundation of every stitch you make. A properly threaded sewing machine gives you neat, even stitches, prevents thread breakage, and makes your projects look professional. Whether you’re making traditional Omani garments, uniforms, or custom embroidery designs, correct threading is key to achieving beautiful results.
Where to Find the Best Sewing Machines in Oman
If you’re looking for a reliable sewing machine in Oman, choose one that matches your work needs—industrial for workshops or domestic for home use. Always buy from an authorized sewing machine dealer to ensure genuine quality, after-sales service, and access to spare parts.
For more than five decades, Mushtaq International has been a trusted name in the sewing and embroidery industry across Oman. From top brands like Brother, Gemsy, and Jaktec to expert technical support and maintenance, Mushtaq International continues to help tailors, designers, and businesses create with confidence.
Whether you’re setting up a new shop or upgrading your old equipment, you can rely on Mushtaq International for the right machine, honest guidance, and long-term support.